Obtaining ezAdd-On Manager
ezAdd-On Manager is available to PeopleSoft users and developers without charge from ERP Solution Exchange. You must register to obtain a copy.
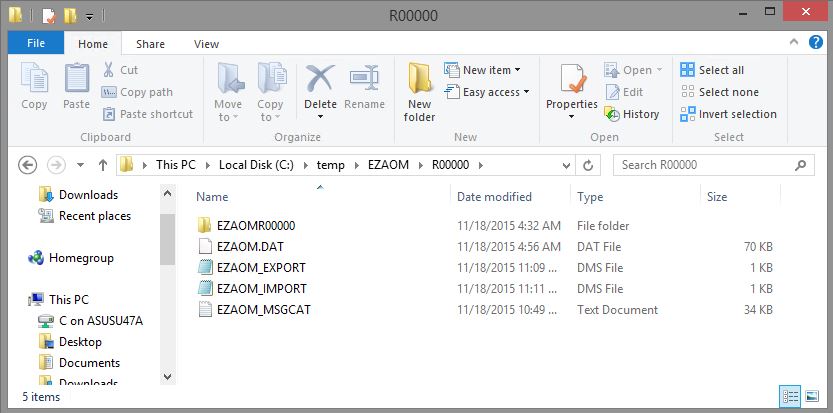
Step 1
Place the EZAOM compressed folder in the c:\temp folder of your workstation and extract all files. You should see the files shown below.
Step 2
Signon to Application Designer and run a compare (Tools > Compare and Report > From File…) against the project file EZAOMR00000 found in folder c:\temp\EZAOM\R00000.
NOTE: ezAdd-On Manager definition names are prefixed with “EZ”, “EZ_AOM”, or “EZAOM” to avoid conflicting with delivered definitions.

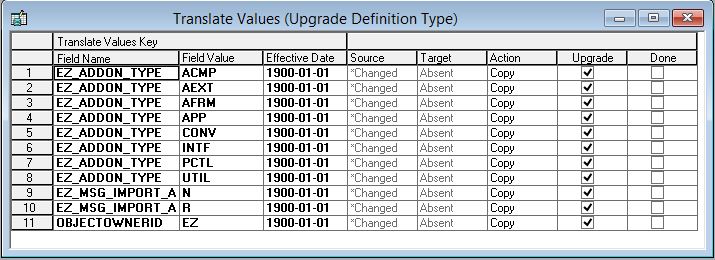
Step 3
Set project upgrade flags as desired.
NOTE: The project will add translate value “EZ” to the OBJECTOWNERID field. You can uncheck the associated Upgrade flag if you don’t want his translate value added.
Step 4
Import the project and build all records.
Step 5
SIgnon to Data Mover, open file c:\temp\EZAOM\R00000\EZAOM_IMPORT.dms, and run the script.
Step 6
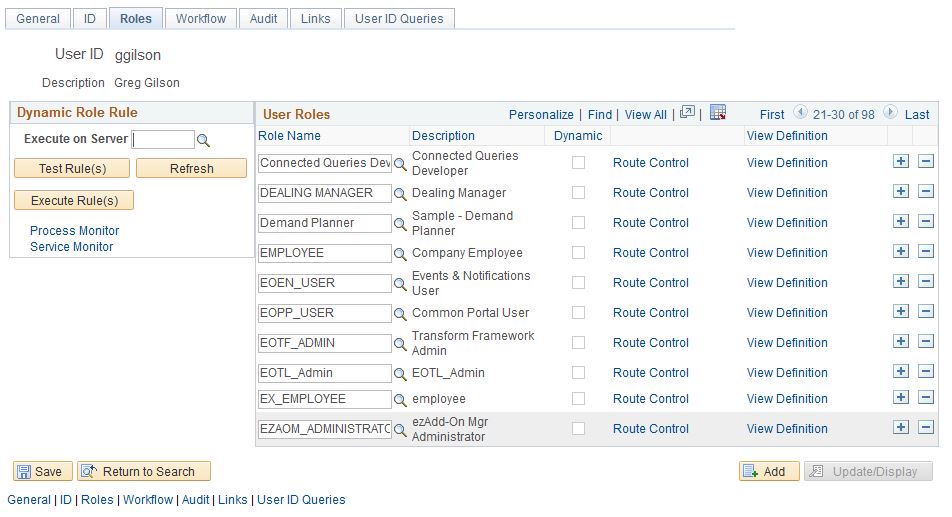
Sign In to your PeopleSoft environment and add role EZAOM_ADMINISTRATOR to your user profile (Navigation: PeopleTools > Security > User Profiles).
Step 7
Sign Out of PeopleSoft, Sign In again, and navigate to the Add-On Registry (ezAdd-on Manager > Registry). You should now see ezAdd-On Manager listed in the Registry.

Step 8
Navigate to the ezAdd-On Manager Message Catalog Manager page: ezAdd-On Manager > Utilities > Message Catalog Manager.
Enter “EZ” into the Publisher field and “AOM” into the Add-On Field.
If the Messages grid is not populated, select “Replace Existing Messages” as the Import Action.
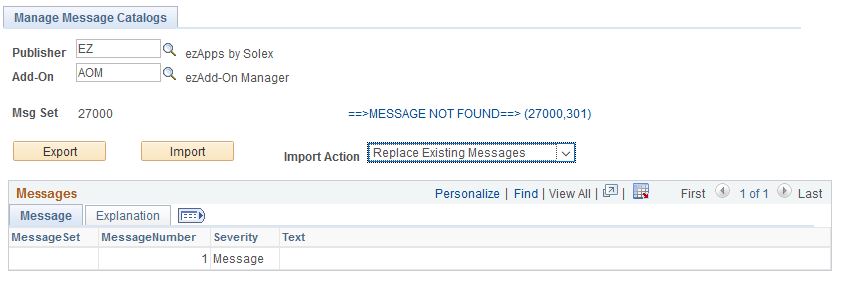
If the Messages grid is populated, select “Create New Message Set” as the Import Action, enter the ezAdd-On Manager project name in the Add-On Project field, and enter a value in the Message Set Number field (the value should be greater than 20000)
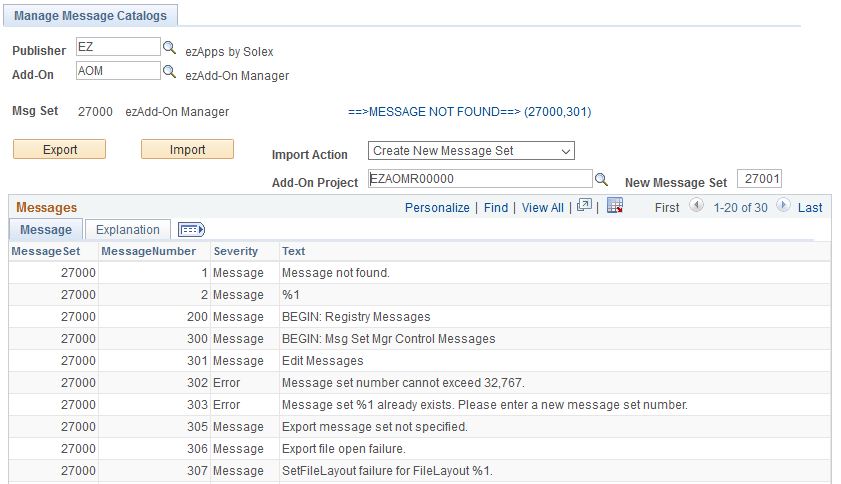
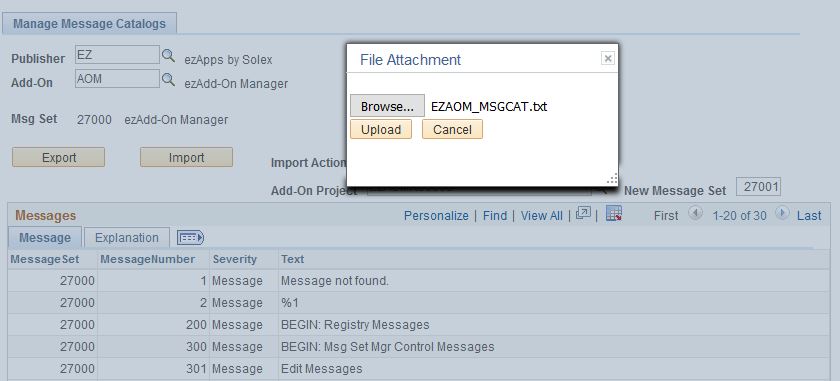
Click the Import button, select file EZAOM_MSGSET.txt from folder c:\temp\EZAOM\R00000, and click the Upload button.
When the import process completes the Messages grid will be populated with the new message catalog.

ezAdd-On Manager installation is complete.